Getting a Transcript
Transcribing your audio or video files is a very simple process with User Evaluation. Here's a step-by-step guide to help you effortlessly get accurate transcriptions:
1. Start a New Project#
Begin by creating a new project. Once established, you'll be directed to the Overview page.
2. Set the Language#
- Located under the project name, you'll spot the Language option. Ensure you adjust this setting to match the language present in your audio or video assets.
- User Evaluation boasts support for 57 languages! Here is the full list of transcription langauges we support: English (variants: US, UK, AU, Global), Afrikaans, Arabic, Armenian, Azerbaijani, Belarusian, Bosnian, Bulgarian, Catalan, Chinese, Croatian, Czech, Danish, Dutch, Estonian, Finnish, French, Galician, German, Greek, Hebrew, Hindi, Hungarian, Icelandic, Indonesian, Italian, Japanese, Kannada, Kazakh, Korean, Latvian, Lithuanian, Macedonian, Malay, Marathi, Maori, Nepali, Norwegian, Persian, Polish, Portuguese, Romanian, Russian, Serbian, Slovak, Slovenian, Spanish, Swahili, Swedish, Tagalog, Tamil, Thai, Turkish, Ukrainian, Urdu, Vietnamese, and Welsh.
3. Adding Files for Transcription#
Click Add New on the Overview page.
A Drop Zone will appear. Either drag and drop your desired files onto this area or click within it to browse and select files from your device.
Alternatively, choose from previously uploaded files in the File Library provided by User Evaluation.
User Evaluation supports the following file formats: 3ga, 8svx, aac, ac3, aif, aiff, alac, amr, ape, au, dss, flac, flv, x-m4a, m4a, m4b, m4p, m4r, mp3, mpga, ogg, oga, mogg, opus, qcp, tta, voc, wav, wma, wv, webm, MTS, M2TS, TS, mov, mp2, mp4, m4v, mxf.
4. Processing Your Files#
- Once your files are uploaded, await a notification confirming the same.
- Click Add to Project. Your files will then begin the transcription process.
- The process requires a few minutes. Upon completion, an email will be dispatched, notifying you that your project is set and ready to explore.
5. Viewing Your Transcript#
- Head over to the Insights section. Your transcript will be readily available there.
- For documents other than audio or video, the Transcript label is substituted with Content.
Note: Speaker labels are exclusively supported for English (US), English (UK), English (AU), English (Global), Danish, Indonesian, Spanish, French, German, Italian, Portuguese, Chinese, Korean, Norwegian, Polish, Portuguese, Russian, Swedish, Turkish, Tamil, Ukrainian, Dutch, Hindi, Japanese.
For projects with multiple assets, individual transcripts can be located under each asset. Just tap on Transcript and allow a brief moment for it to load.
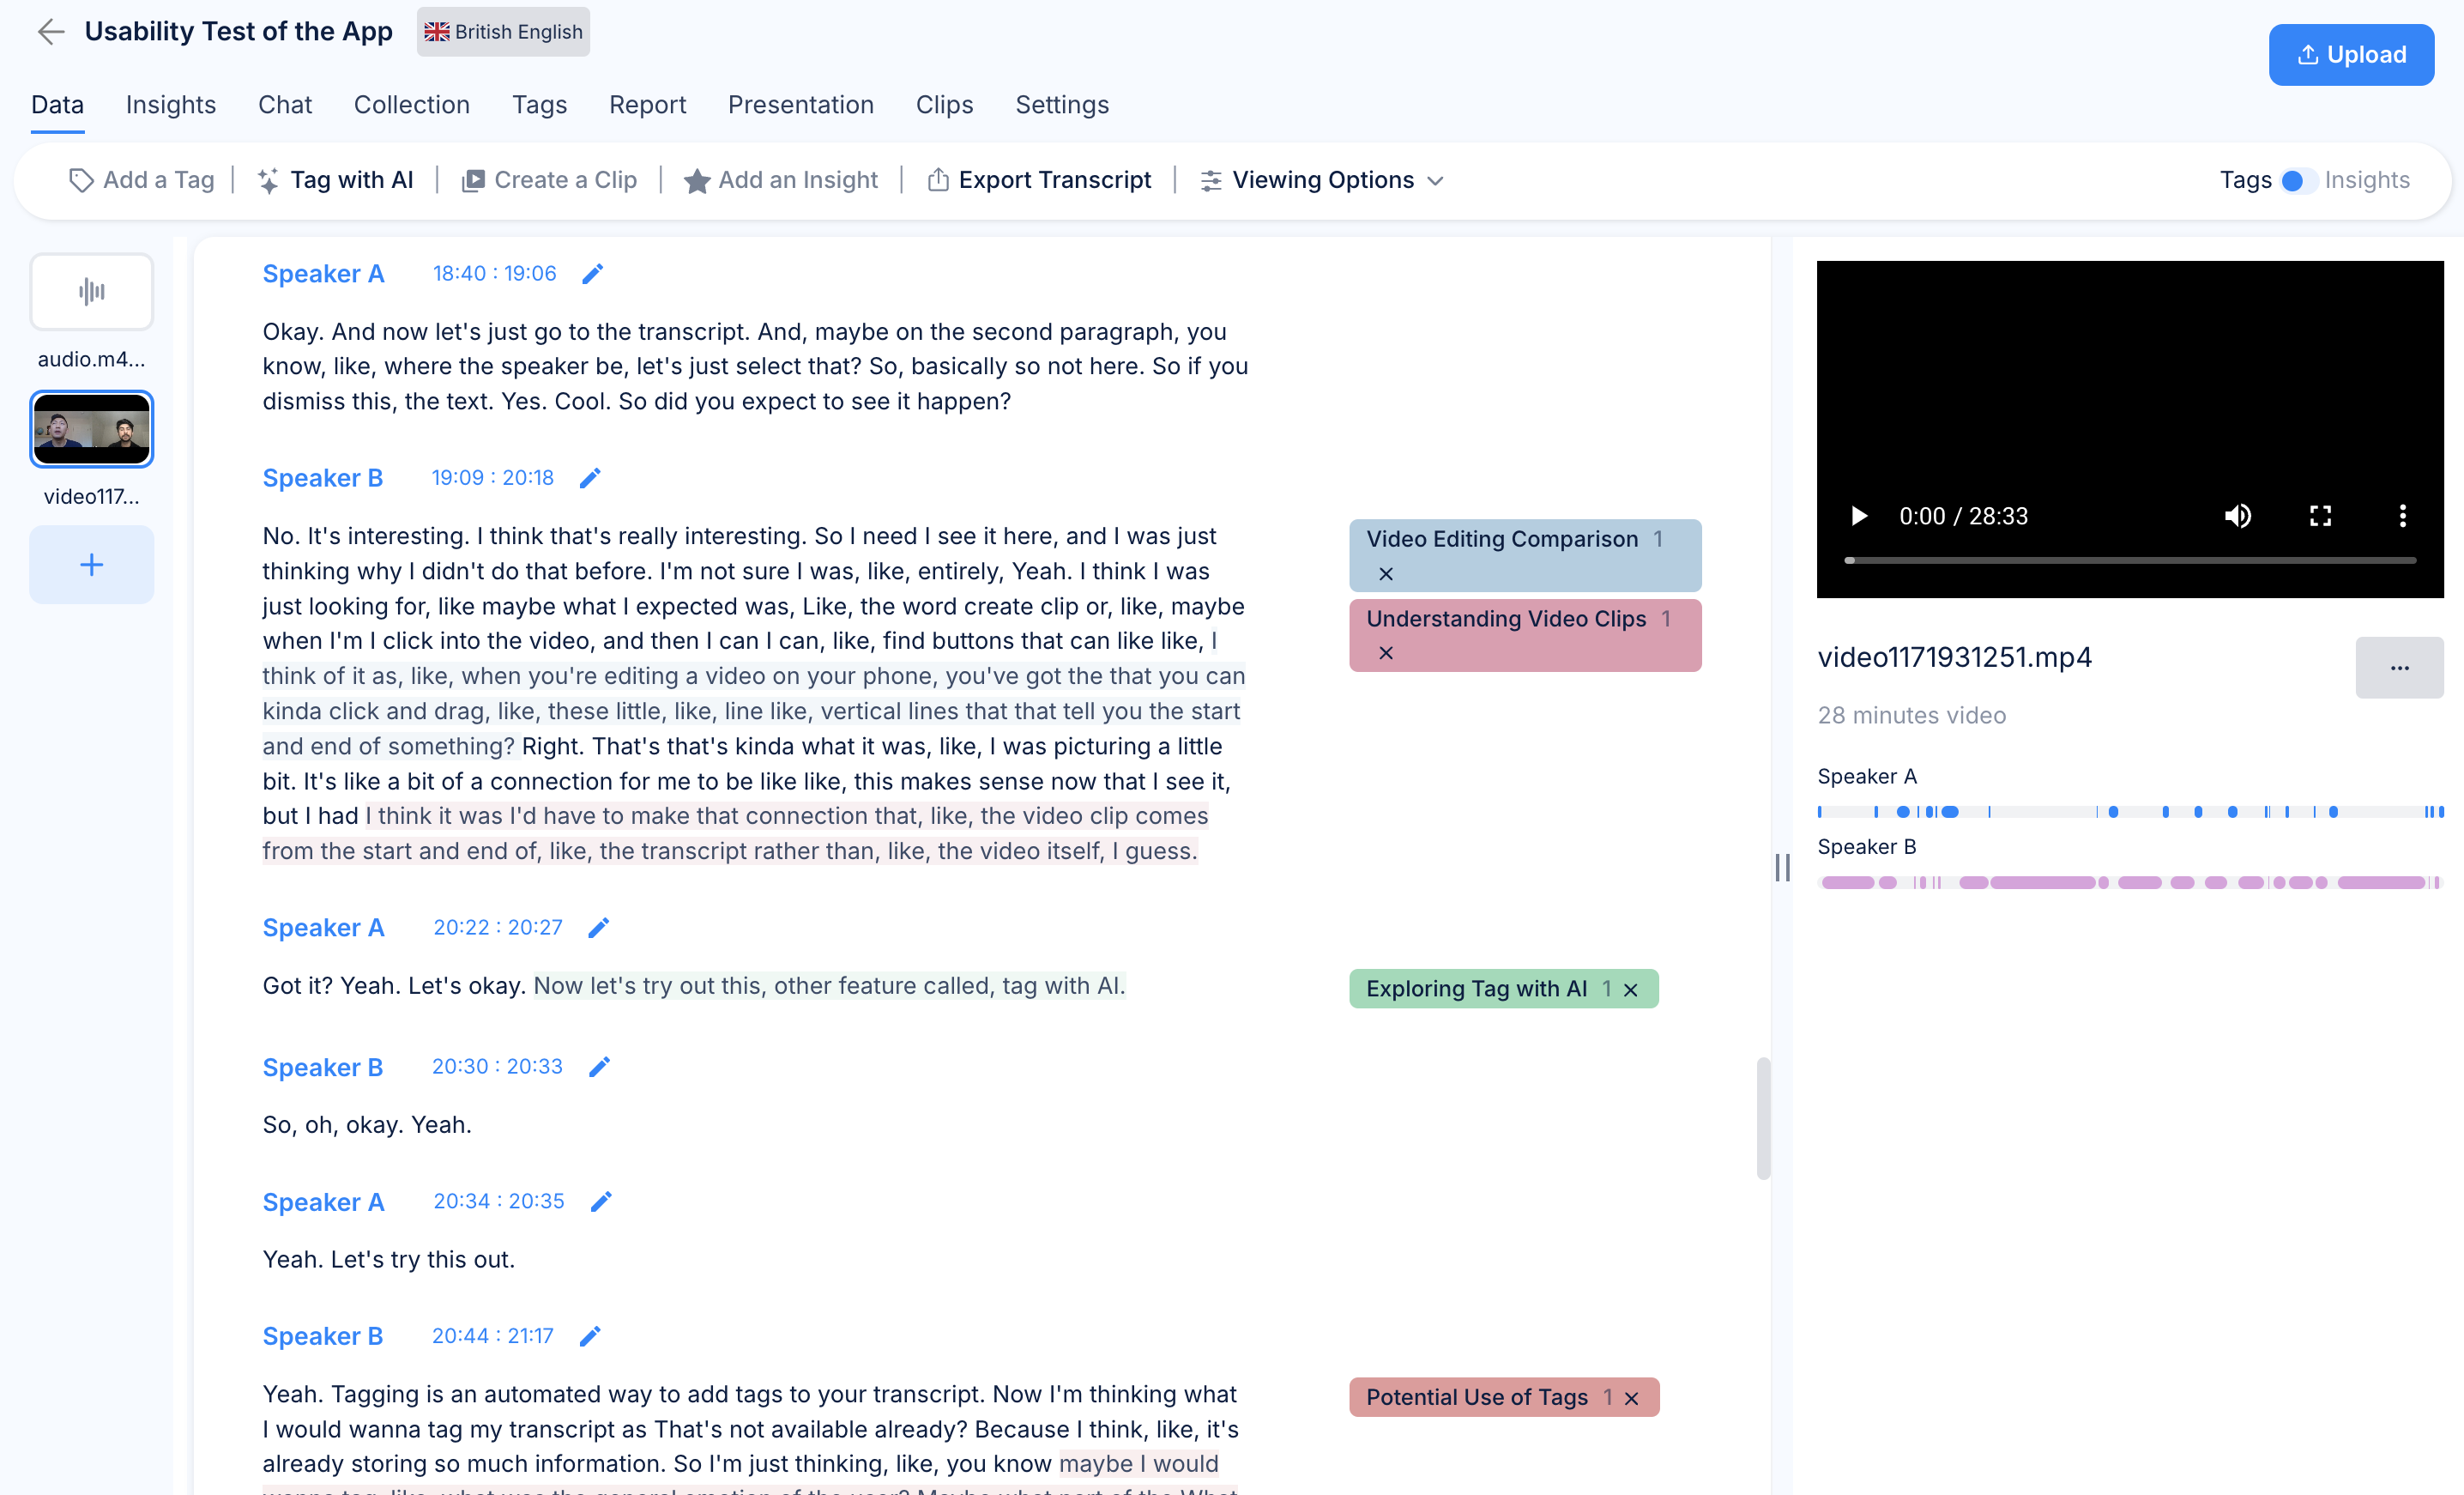
You'll observe speaker labels and timings adjacent to every spoken sentence or paragraph. To modify the speaker's name or title, just click on the designated label.
To swiftly navigate to a specific portion of your audio or video based on the transcript, simply click on the provided timestamp.
Unlocking insights from your audio and video files has never been easier. Get started with User Evaluation today and experience hassle-free transcription like never before!